Wednesday, 10 August 2011

Looting, recycling and karma

With all thats going on its so easy to become lost in the chaotic images flashed across the television and newspapers. The idea of anarchic 'youth' (*) roaming unchecked around our town centres might make us draw the curtains a little tighter, check the locks a few more times and pass a few more uncertain looks at local children with their hoodies zipped up against the cool breeze, but as widespread as this might seem it doesn't represent my experience of young people or people in general. I believe that if we all think carefully we'll realise that this is only a snapshot of a very small (if worrying) part of society.


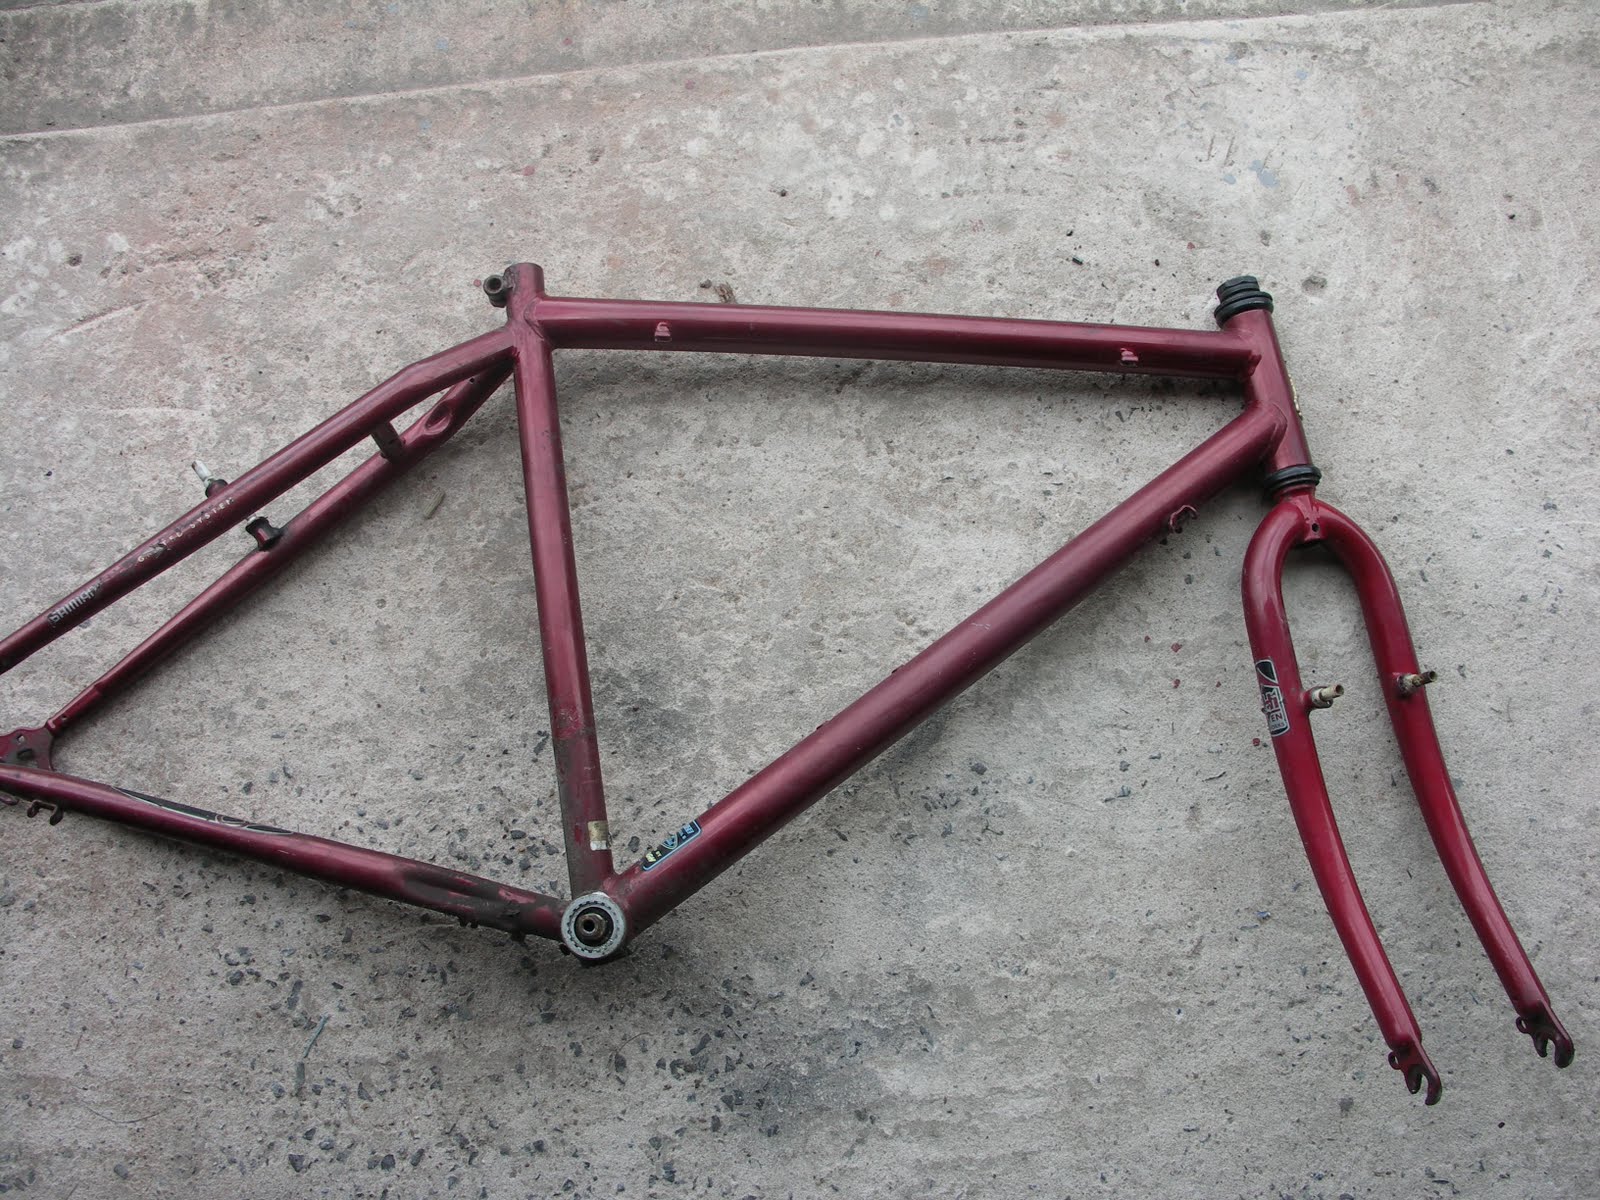
Through the recycling project I am allowed to experience the kindness of others. Every single day I meet someone who (for no other reason than wanting to help another person) helps me to gift another bicycle, be that through the gift of a cycle, cycle parts, advice or time. Today I spent some time talking with Tony from Leamington who brought with him a selection of wheels, tyres, chainsets and other useful bits and bobs (you can see some of the bits above)- all gifted in the hope that they might help another person. We've seen evidence of this kindness more widely today with the arrival of the impromptu clean-up squads, organising themselves through facebook and turning up to help those who've suffered at the hands of the looters.

Its a shame that it takes something significantly awful to make visible the every day good deeds that take place all around us... I think most people eventually realise that society amounts to what we invest in it, I know that I try to ' pay it forward' as much as I can and think more often about Karma and the list its making (thankyou Earl)

(* There's more evidence than not to suggest that the 'looters' were made up of criminals of all ages, not just the young. Additionally the teachers, youth workers, mentors and parents that were eventually apprehended were motivated more by greed rather than poverty, by opportunity rather than necessity)

Sunday, 31 July 2011

Pedal powered bike collecting...and a new bike!

Its been a really busy bike week this week, bikes going out and a few arriving. Made me reflect a bit on the trailers i've been using, a combination of recycled bed frames and hacked kiddy carriers. It took a good few months, a couple of close calls with pedestrians and a few bruises to figure out things like size and the strength of the hitch, but I think i've finally settled on two favorites now.


a small one for little collections....


.....and a bigger one for picking up a few bikes at a time. Predictably both put together on less than a shoestring budget, but work fantastically.


Since i've been picking up bikes on the trailers i've discovered that the only thing that enrages a motorist more than a cyclist, even more than a tandem with a child on trying to turn right...is a bicycle pulling a trailer piled up with more bicycles- must be the concentration of bicycle pheromones. I don't think i'm an inconsiderate cyclist, I don't filter, I do things like waiting at red lights etc and i've read the highway code, but then I don't ride in the gutter (in all the potholes and glass) and don't dive out of the way to allow unmolested car travel either...all of this seems to provoke alot of engine revving and horn beeping- thank goodness for Ipods.

Had a very exciting additon to my own bike collection arrive today, purchased for the grand sum of £27.57, I made the short trip over to Solihull to pick up my very own retired Pashley Postmans bike

I can't believe how fantastic it is, outwardly it doesn't look that different to loads of 3 speed bikes i've had, but once you've ridden it and got used to the tray at the front not moving when you turn there's no comparison, its great!...So you'll soon see me zipping around the city on the new bike with my tools in the front and a homemade trailer on the back....probably with several unhappy car drivers following closely behind!

Wednesday, 27 July 2011

Hurray for the holidays!

I'm so very excited! Its the beginning of six weeks of explorations and adventures with the kiddies....although in all honesty they're all bigger than me now and probably not as excited as I am, I still can't wait to find out what this summer will bring.


We've already taken the tandem out to Coombe for the obligatory chips at the cafe and are already planning a couple of local cycle camps and a few days out.


Most of these will only be little jaunts but I love camping, even if its only in the back garden pitched up in my tiny tent on whats left of our lawn ( we dug most of it up last year for vegetables)

Next week we're hoping to cycle over to Stratford and will probably stay for the night in Bidford at the back of the aptly named 'Cottage of Content'. There's some lovely places to stay locally- in a tent its usually only around £10 for the night, an absolute bargain- you can find a few more places to stop here.

Later in the summer we'll be off to Dorset for the annual dip in the sea, i'm still trying to decide whether to cycle down this year, but if not i'll be taking something folding so that I can have a little explore of the coast road between beautiful Charmouth and Weymouth- more of that when it happens.

Monday, 18 July 2011

How to make a quick single speed (Part 2)

I'm not exactly a fair weather cyclist, but the weather yesterday scuppered my plans for a trip out- there's something about dark skies and driving rain that makes me want to lock myself away somewhere warm....and preferably dry.

Anyway, with a little time on my hands I thought I'd carry on the single speed MTB conversion- so if you've followed Part 1 you'll now have a bare frame, a pile of bits and will be ready to start converting your wheel.

For the next bit you'll need the following: A set of suitable wheels, a spare BMX style wheel, a adjustable spanner, a cassette removal tool, a centre punch and a hammer. Once again you can pick up the cassette tool from Halfords for around £5- there is no sensible or cheaper alternative. I'm sure there is a proper tool to remove the BMX freewheel, but for this project its unnecessary.


Okay first you need to remove the BMX freewheel. Firstly brace the wheel with the freewheel on the right. You will notice two small indentations on the hub- position one of these at about 11 O'Clock place the centre punch in and give it a tap with the hammer (anti-clockwise)- with very little effort you will feel it come free.


Continue to turn it anti-clockwise until it comes off.


On the larger wheel you'll need to remove the rear cassette to make room for your new freewheel so insert your cassette remover, once again brace the wheel and with the aid of your spanner turn the cassette removal tool anti-clockwise.


Sometimes this takes a bit of perspiration, but it will come free- once it does continue to turn the cassette anti clockwise until it comes off in your hand.


To make your MTB rear wheel single speed you'll now need to put the BMX freewheel onto your empty MTB wheel hub.


Be very careful to make sure the freewheel engages with the threads of the wheel hub- usually you will sense if its not going on right. If you're worried take it off, check the threads and start again.


Finally you'll be left with another pile of un-needed bits and pieces and a converted rear wheel.


Once again i've ran out of time, but check for easy Part 3 where I (hopefully) put it all back together again.

Friday, 15 July 2011

How to make a quick single speed (Part 1)

Following the blog about my day out in the woods i've had a surprising amount of questions about the bike I was using on the day, or more specifically about its single speed-edness. As with most of the bikes I ride the most it's a remarkably good (but ugly) bike made out of a combination of lots of not very special bits, which have come together to fulfill a specific task really well.

I use the single speed for quick trips to the shop, bashing around the woods and for when I want to put a smile on my face. Whenever I use it it reminds me of how great it felt to ride my bmx when I was ten, when my knee's didn't bash off the handlebars and I wasn't too worried what might happen when I went down devil's dungeon (a local hole in the ground that doubled as a bike jump) . I'm sure there's a proper way to make a single speed and i'm also sure that there are lots of very compelling reasons why the way in which I made my bike will ultimately destroy it- but i've used this for a long time and its still working...so I thought i'd show you how.

Now this is a final warning- if you value your bike or are likely to damage yourself with basic tools please don't try anything that follows.

Okay the first thing you're going to need is an old bike, the more broken it is the better as you'll be throwing most of the bits away. Ideally the wheels will be almost straight and they'll be nothing too nasty happening with the frame. I tend to keep away from anything with suspension, they are usually rubbish and weight a ton- two qualities you'll not want for your grown up bmx.


Next you'll need to start stipping all the bits off so disconnect all of the cables and start stripping it down


Use an allen key to loosen the handlebars, sometimes it gets a bit stuck so once you've undone the headset bolt until its sitting proud of the handlebar, give it a sharp tap with a hammer and that should free it up.


Next you'll need to take off the crank and gears. The trickiest bit here is removing the crank, especially if its been sitting for a while. Ideally you'll need a crank puller, which you can pick up from Halfords for around £5, but if you're not keen on spending money you can remove it with a hammer and chisel- I don't recommend this as you can end up with a mangled mess.


After you've unscrewed the front and rear derailleurs and taken off the chain you'll be left with a bare frame. If you want to paint your frame now is the time- make sure you give it a proper wash to get off all the muck and grease and sort out any rusty bits.


I've had to split this into several parts to fit in a barbecue, but i'll show you how to make your single speed rear wheel in Part 2

Tuesday, 12 July 2011

A weekend spent in the woods

This weekend was spent exploring the woodland and cycle paths in and around the Binley Woods/ Brandon area. Only a short ride from the city centre are some fantastic rides through mixed woodland, some easy trails and uniquely a dirt track shared by a mixture of BMX-ers and off road bikers ( of the pedal powered variety). Its not as rugged as some further afield destinations and its shared usage, so not exclusively for the use of off road cyclists- but i've been exploring it for a couple of years now and still find something to enjoy. It has some tricky bits but this weekend I was on a homemade low geared, single speed MTB and (apart from my own aching knee's) it managed it without too many complaints.


Part of my ride around Brandon, Wolston and Brinklow took in what's known locally as the '12 o'clock ride' (its a googlable route), which is a bridleway which leads directly from Brandon to the gates of Coombe Abbey and Brinklow Rd. It forms a part of a 12 mile route which I quite often see people attempting at the weekends although I prefer a more meandering approach to my weekend rides.

If you're interested in popping down to have a look you can find a fantastic guide and pictures to what you can hope to see when you come on the walking blog 'To the hills'


I'm always amazed as what's available locally that most of us have never heard of- You can find a few more rides around warwickshire area here.

Tuesday, 5 July 2011

5 quick things to make with an old inner tube


Quite often when I receive a bike its because its fallen out of use due to something simple like a puncture. When repairing a bicycle today I counted the repairs on an innertube I'd removed and found that it had 12 patches and was still going strong.


Sometimes though, because of how or where an inner tube is damaged, its beyond being safe to use in a wheel. Although cheap, rubber is a finite resource so I thought i'd share some of the quick things that I use old tubes for:

1) Puncture patch


Old tyres make adequate puncture patches. Puncture kits are cheap to buy but it makes better sense to use what you have if you can. Inner tube rubber is generally thicker than patch rubber except on racer innertubes which work the best.


To use a patch make sure you wash the chalk off before using it (or the glue won't stick) and roughen the side which you are going to glue (and the area that your glueing it to) with a bit of sandpaper


2) Plant/ cable ties


It doesn't get simpler than this. An old inner tube cut into thin strips ready to use as ties for any number of jobs. The other day I used the tube ties to fix the wheels onto the hazel rods to fix together the wheel fence


3) Bicycle chain cover


Just snip the valve off your inner tube and you have an instant, ready to use, no frills chain cover. Not only will it help prevent the elements from rusting it up, when attached to your bicycle the rubber outer will prevent the metal chain from scratching and chipping the paintwork of your treasured bicycle.


4) Wheel rim liner


Quite often (especially with cheaper or old bikes) the liner inside the wheel which protects the inner tube from the spoke nuts has disintegrated- when this happens the top of the nuts (or if you're unlucky a bit of spoke) rubs on the tube. Usually you'll only discover this when you remove the wheel to look for a puncture.


Its well worth re-lining the wheel with a bit of old tube. Inner tubes stretch, so for a 26" wheel use a 20" inner tube- cut the right width and away you go.


5) Emergency firelighters


Quite a few years ago now I was given this firelighting kit by a good friend. Part of it is thin strips of scrap inner tube which help get your campfire going, particularly good in the wet. I always have this with me when off in the wilderness and its now part of my essential bike travel kit.


So if your off on your travels why not put something similar together and take it with you, you'll not regret it.