Showing posts with label fence. Show all posts

Wednesday, 20 June 2012

Bike wheel fence update....


Last year, in an effort to stop our determined pooch from pooping on everything, we put together a quick fence out of a few bike wheels we had lying around ( click here for the original post). As you can see it still there, the dog hasn't yet managed to find a way through and as a result we've had a bumper crop of gooseberries, strawberries and a few raspberries...Brilliant.

Friday, 15 July 2011

How to make a quick single speed (Part 1)

Following the blog about my day out in the woods i've had a surprising amount of questions about the bike I was using on the day, or more specifically about its single speed-edness. As with most of the bikes I ride the most it's a remarkably good (but ugly) bike made out of a combination of lots of not very special bits, which have come together to fulfill a specific task really well.

I use the single speed for quick trips to the shop, bashing around the woods and for when I want to put a smile on my face. Whenever I use it it reminds me of how great it felt to ride my bmx when I was ten, when my knee's didn't bash off the handlebars and I wasn't too worried what might happen when I went down devil's dungeon (a local hole in the ground that doubled as a bike jump) . I'm sure there's a proper way to make a single speed and i'm also sure that there are lots of very compelling reasons why the way in which I made my bike will ultimately destroy it- but i've used this for a long time and its still working...so I thought i'd show you how.

Now this is a final warning- if you value your bike or are likely to damage yourself with basic tools please don't try anything that follows.

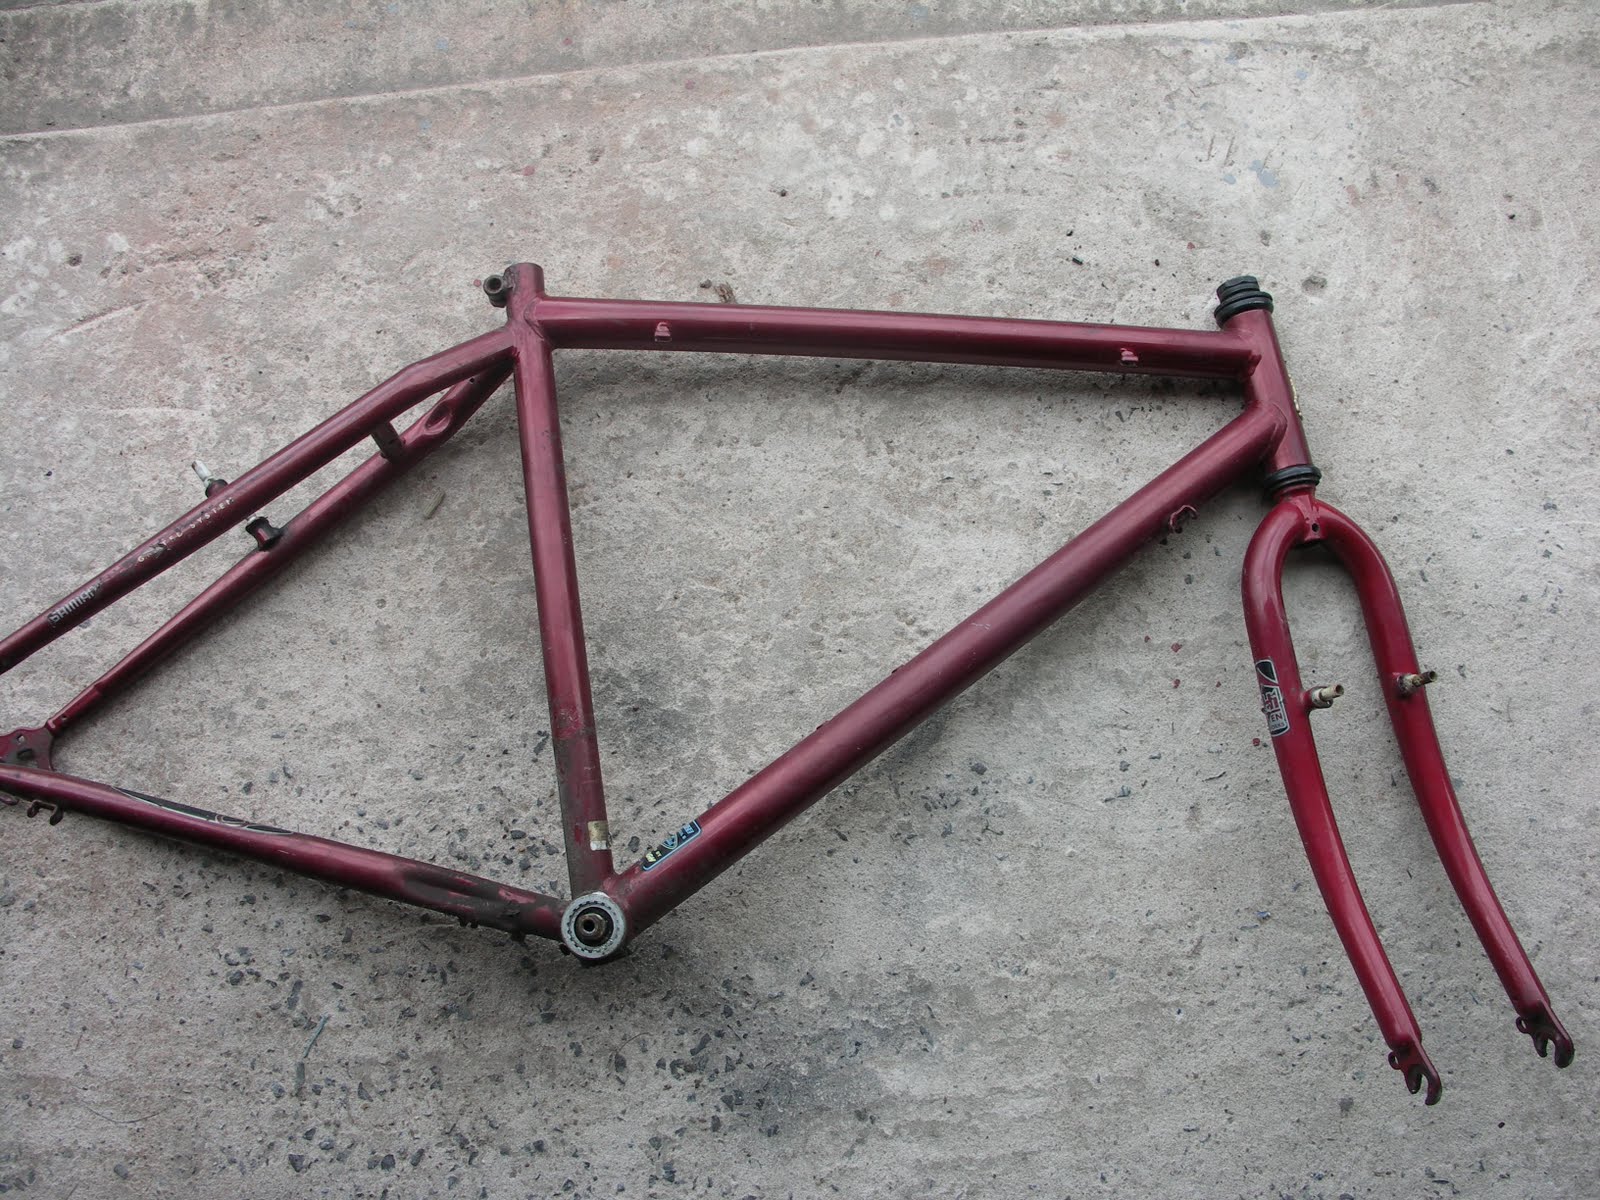
Okay the first thing you're going to need is an old bike, the more broken it is the better as you'll be throwing most of the bits away. Ideally the wheels will be almost straight and they'll be nothing too nasty happening with the frame. I tend to keep away from anything with suspension, they are usually rubbish and weight a ton- two qualities you'll not want for your grown up bmx.


Next you'll need to start stipping all the bits off so disconnect all of the cables and start stripping it down


Use an allen key to loosen the handlebars, sometimes it gets a bit stuck so once you've undone the headset bolt until its sitting proud of the handlebar, give it a sharp tap with a hammer and that should free it up.


Next you'll need to take off the crank and gears. The trickiest bit here is removing the crank, especially if its been sitting for a while. Ideally you'll need a crank puller, which you can pick up from Halfords for around £5, but if you're not keen on spending money you can remove it with a hammer and chisel- I don't recommend this as you can end up with a mangled mess.


After you've unscrewed the front and rear derailleurs and taken off the chain you'll be left with a bare frame. If you want to paint your frame now is the time- make sure you give it a proper wash to get off all the muck and grease and sort out any rusty bits.


I've had to split this into several parts to fit in a barbecue, but i'll show you how to make your single speed rear wheel in Part 2

Tuesday, 5 July 2011

5 quick things to make with an old inner tube


Quite often when I receive a bike its because its fallen out of use due to something simple like a puncture. When repairing a bicycle today I counted the repairs on an innertube I'd removed and found that it had 12 patches and was still going strong.


Sometimes though, because of how or where an inner tube is damaged, its beyond being safe to use in a wheel. Although cheap, rubber is a finite resource so I thought i'd share some of the quick things that I use old tubes for:

1) Puncture patch


Old tyres make adequate puncture patches. Puncture kits are cheap to buy but it makes better sense to use what you have if you can. Inner tube rubber is generally thicker than patch rubber except on racer innertubes which work the best.


To use a patch make sure you wash the chalk off before using it (or the glue won't stick) and roughen the side which you are going to glue (and the area that your glueing it to) with a bit of sandpaper


2) Plant/ cable ties


It doesn't get simpler than this. An old inner tube cut into thin strips ready to use as ties for any number of jobs. The other day I used the tube ties to fix the wheels onto the hazel rods to fix together the wheel fence


3) Bicycle chain cover


Just snip the valve off your inner tube and you have an instant, ready to use, no frills chain cover. Not only will it help prevent the elements from rusting it up, when attached to your bicycle the rubber outer will prevent the metal chain from scratching and chipping the paintwork of your treasured bicycle.


4) Wheel rim liner


Quite often (especially with cheaper or old bikes) the liner inside the wheel which protects the inner tube from the spoke nuts has disintegrated- when this happens the top of the nuts (or if you're unlucky a bit of spoke) rubs on the tube. Usually you'll only discover this when you remove the wheel to look for a puncture.


Its well worth re-lining the wheel with a bit of old tube. Inner tubes stretch, so for a 26" wheel use a 20" inner tube- cut the right width and away you go.


5) Emergency firelighters


Quite a few years ago now I was given this firelighting kit by a good friend. Part of it is thin strips of scrap inner tube which help get your campfire going, particularly good in the wet. I always have this with me when off in the wilderness and its now part of my essential bike travel kit.


So if your off on your travels why not put something similar together and take it with you, you'll not regret it.

Thursday, 30 June 2011

Stopping the poop


For the last few months my dog (Woody) and I have had a tussle for ownership of the vegetable patch.


He clearly thinks that as the ground has been lovingly dug, that it has been prepared for him to use as a toilet. Each day he removes the few brave seedlings, tramples the strawberry plants and carefully deposits poo where my vegetables should be . Today (when I once again caught him on the return journey) I decided that it was time to fix the problem. I did consider a number of solutions (some of which would have proved uncomfortable for for pooch) but finally settled on this, a bicycle wheel fence. Made of nothing more than old wheels, hazel rods and old inner tubes for ties.


So now that pile of buckled wheels that I didn't want to throw away will be looking after the raspberries, strawberries and nasturtiums, yum!